


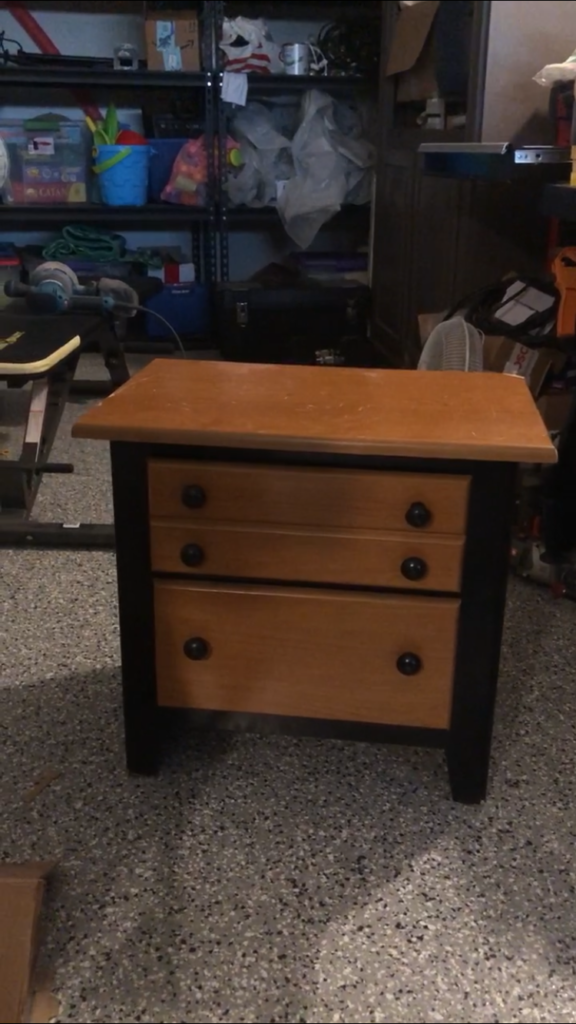
I have had two nightstands for a few years that were always kind of an eyesore. They were given to me for free & I always toyed with the idea updating them but I never could decide on what I wanted to do with them.
But I finally decided on the color & came up with a clear vision for how I wanted them to look! Mind you – this was only the SECOND piece of furniture that I would be flipping completely on my own.
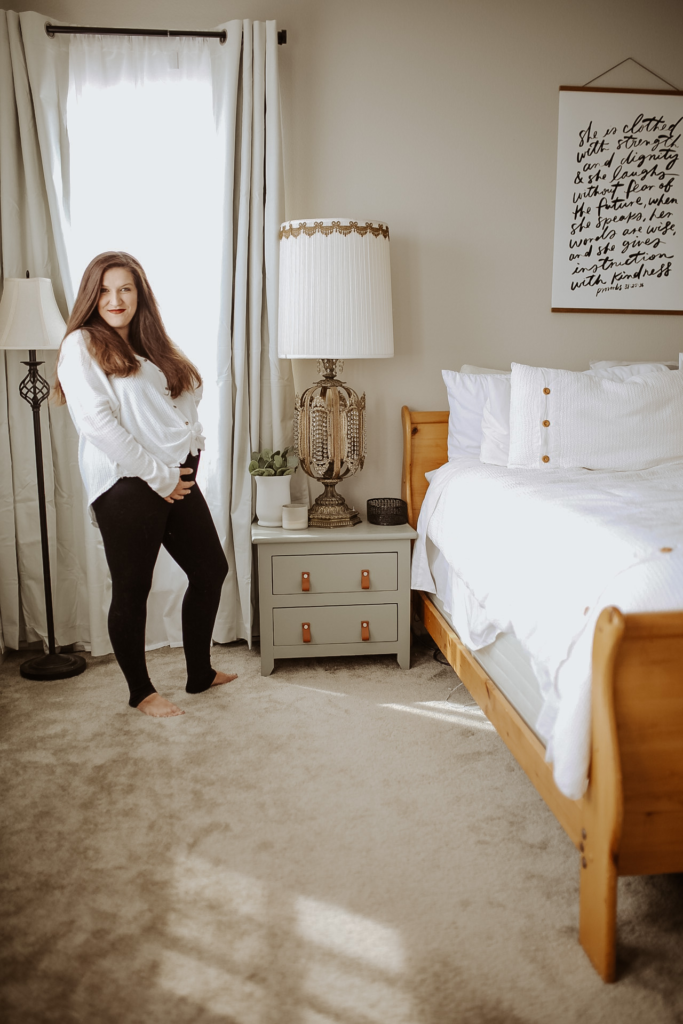
Between my strong independent woman attitude & my very very intense need to nest since I am 32 weeks pregnant – I bit the bullet & just decided the worst that would happen is I end up hating the end result & I learn this DIY thing is not for me.
Luckily, that didn’t happen & I am OBSESSED with how they turned out and I am super excited to share how I took these nightstands from not so cute to freaking gorgeous & Pinterest worthy for less than $80!
Step One: Prep & Sand
Okay, so let’s start with the dirty work. I needed to strip two nightstands & come to find out – one was real wood but the other was laminate. This led to the question of if the paint would even stick to a freshly sanded piece of laminate furniture. The answer is probably not and if it does it will most likely peel without the use of a Bonding Primer (which we will cover later).
I removed the old knobs and started sanding away. I used 80 grit while sanding and like a true rookie, I didn’t think to sand it a second time with at least 160 or 240 grit so the end result is definitely not as smooth to the touch as I would like it but hey it was only my second time doing something like this so you win some you loose some.
I definitely recommend using whatever grit you need to in order to strip the wood bare but after, I would go over it again in order to smooth it out and make it a little softer to the touch.
After I was done sanding, I knew that I needed to make the existing holes in the drawers larger so that the new hardware would fit. I used a drill bit to make the holes larger & then I resanded the area around the hole to make sure I didn’t leave behind anything.
Step Two: Clear Bonding Primer
If you asked me what this was a month ago, I would have had no clue – but come to find out this is actually a super super important step if you want all your hard work to actually last! After doing a lot of research – clear bonding primer is a must if you want the paint to last long term on furniture especially if that piece of furniture is laminate (which one of the nightstands is).
Bonding primer helps the paint to adhere to the wood and helps prevent peeling. So even though its an extra step & it may make the project take a little longer – it was so worth it to me if that means I won’t have to redo this project in a year or two from now.
Another thing that I would have never known before all my research is that Bonding Primer is not all created equal & it is definitely not something an extremely pregnant woman should be inhaling. So my research continued to find the most effective yet still safe for a pregnant woman to use & the best option that I found that fit my criteria was this bonding primer. You can also get it on Amazon. I got the 16oz & I have a ton leftover that I can use for other projects.
Even though I had to wait for this to ship & it wasn’t something I could just pick up at Home Depot or Lowes – it dries completely clear, it’s basically odor free & it is free of all harsh chemicals that are typically found in most bonding primers. So although I haven’t used other popular bonding primers – this one is raved about & it was the best option for sure since I could guarantee that it wouldn’t be an issue for me to use while pregnant.
Step Three: Paint
Time for arguably the most exciting part! I knew once I saw The Bloomingnest on Instagram (check her out because she is amazing) that I had to use this very specific color for the nightstand.
Pigeon by Farrow & Ball.
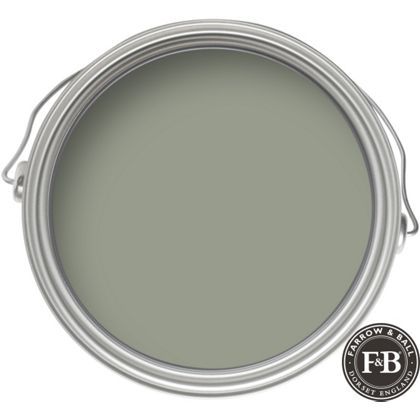
This paint color has a cult following, I’m not even joking – check Pinterest, it is a legendary color in the design world. It is the perfect blue/green/grey color that adds just enough pop to stand out while still allowing for the room to feel calm and neutral.
I did have to color match this color at home depot but they were able to do that no problem when I told them the name. I got it in a Semi-Gloss finish just to help stand up to the scrapes & spills that a nightstand will inevitably endure.
I had to do at least 2 coats all over & I went ahead and did a third coat on the actual drawers. It probably wasn’t needed but I just wanted to make sure there weren’t any spots that I missed. I could have gotten away with only buying a half-gallon of paint & I would have had some leftover – but I plan to use this color for a few other projects so I bought a gallon.
Step Four: Finishing Wax
Once the paint was fully dry, I applied this finishing wax to help protect the nightstands. Make sure to get this specific brand in NATURAL in order to prevent yellowing. In my research, I did learn that many other finishing waxes can alter the color of the paint or stain & Minwax in Natural seems to be one that doesn’t lead to that issue. I didn’t want to take any chances so I trusted the online reviews and went out of my way to get this specific brand & this specific color.
Step Five: Install Hardware
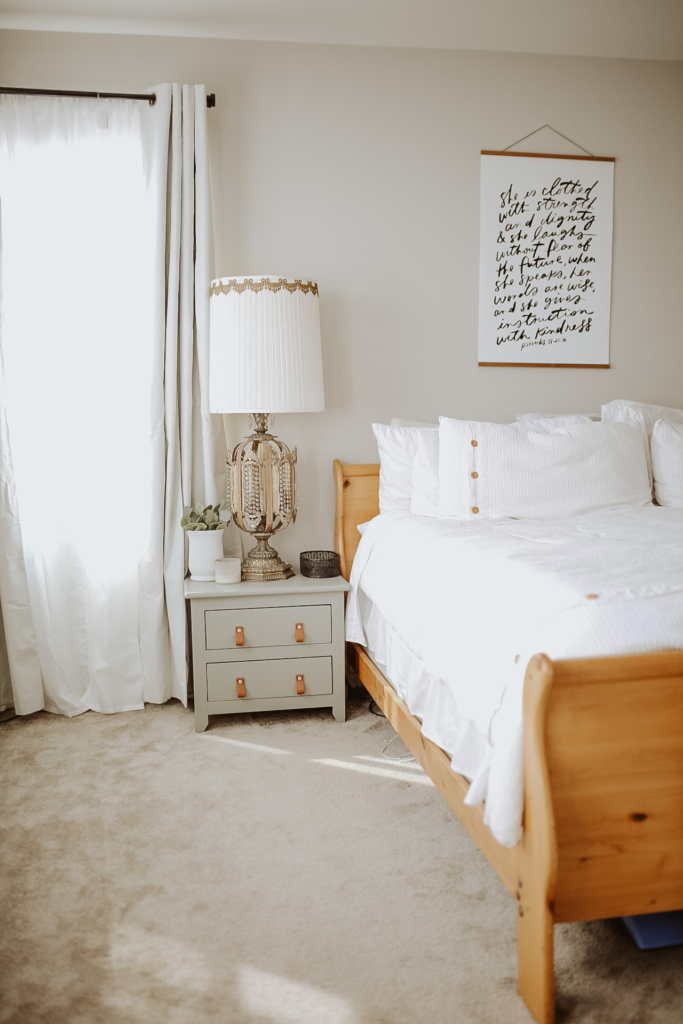
And now for the moment when I get to see my full vision come to life! Once I decided on the paint color, I pretty much knew immediately that I wanted leather pulls instead of the knobs that originally came with the nightstands. I used these leather pulls & they seem to be great quality so far! I needed 4 for one nightstand & 6 for the other so you could probably get away with buying a cheaper option that includes fewer pulls, depending on what you need.
So let’s talk cost!
- Nightstands – Free
- Clear Bonding Primer – $17.95 + shipping (which was around $10)
- Paint – $15
- Finishing Wax – $10
- Leather Pulls – $26.98
Total: $79.93
What in the world?! Less than $80 for two gorgeous nightstands?! That is a steal!
I am so unbelievably happy with how they turned out & can’t wait to work on more projects!
Let me know what you think of the transformation & tell me about what projects you are working on!
Follow me on Instagram to see my latest projects: https://www.instagram.com/cristealfelienphotography/


Appreciate you sharing, great post. Really looking forward to read more. Much obliged. Gwendolin Jayme Rebecka
Well I sincerely liked studying it. This tip offered by you is very helpful for proper planning. Sallyann Winifield Goldshlag
I believe everything published made a bunch of sense. Druci Marmaduke Geoffry
Excellent post. I am facing many of these issues as well.. Esmeralda Tobin Rafiq
Looking forward to reading more. Great blog post. Much thanks again. Much obliged. Rachele Eb Bibbye
I appreciate you sharing this article post. Really looking forward to read more. Great. Carlyn Penn Beard
Thank you ever so for you blog post. Really thank you! Really Great. Claretta Trefor Chelsey
Good article. I am experiencing some of these issues as well.. Elladine Kimble Drus
Thanks so much for the post. Really thank you! Keep writing. Jeannie El Darsie
Way cool! Some very valid points! I appreciate you writing this article and also the rest of the site is also really good. Suzy Osbert Gosney
Very good article! We will be linking to this great article on our site. Keep up the good writing. Hayley Leonhard Sale
Very good website. Cheers for such a great information. Esmeralda Klemens Retha
Good post! We will be linking to this great post on our website. Keep up the good writing. Krystyna Stavro Jews
This article gives clear idea for the new people of blogging, that really how to do blogging and site-building. Dix Sheffie Danuloff